So you drink a lot of wine? Well if you’re like me that means you’ve got a lot of wine corks hanging around. So what is one to do with all those corks? Sure they sell all sorts of cute containers and display pieces for storing corks, but what happens when those overflow or get plain old boring? Well if you’re like me that means it’s craft time! A few years back inspired by my own excessive wine cork collection, and those of friends and family willing to share with me, I decided to start an Etsy shop called the Good Wine Artist (a take off of the name of this blog obviously) full of fun upcycled wine cork and bottle products. The first thing I ever made was simple square cork trivets and I’ll give you a brief How To lesson below if you’d like to try your hand at making your own.
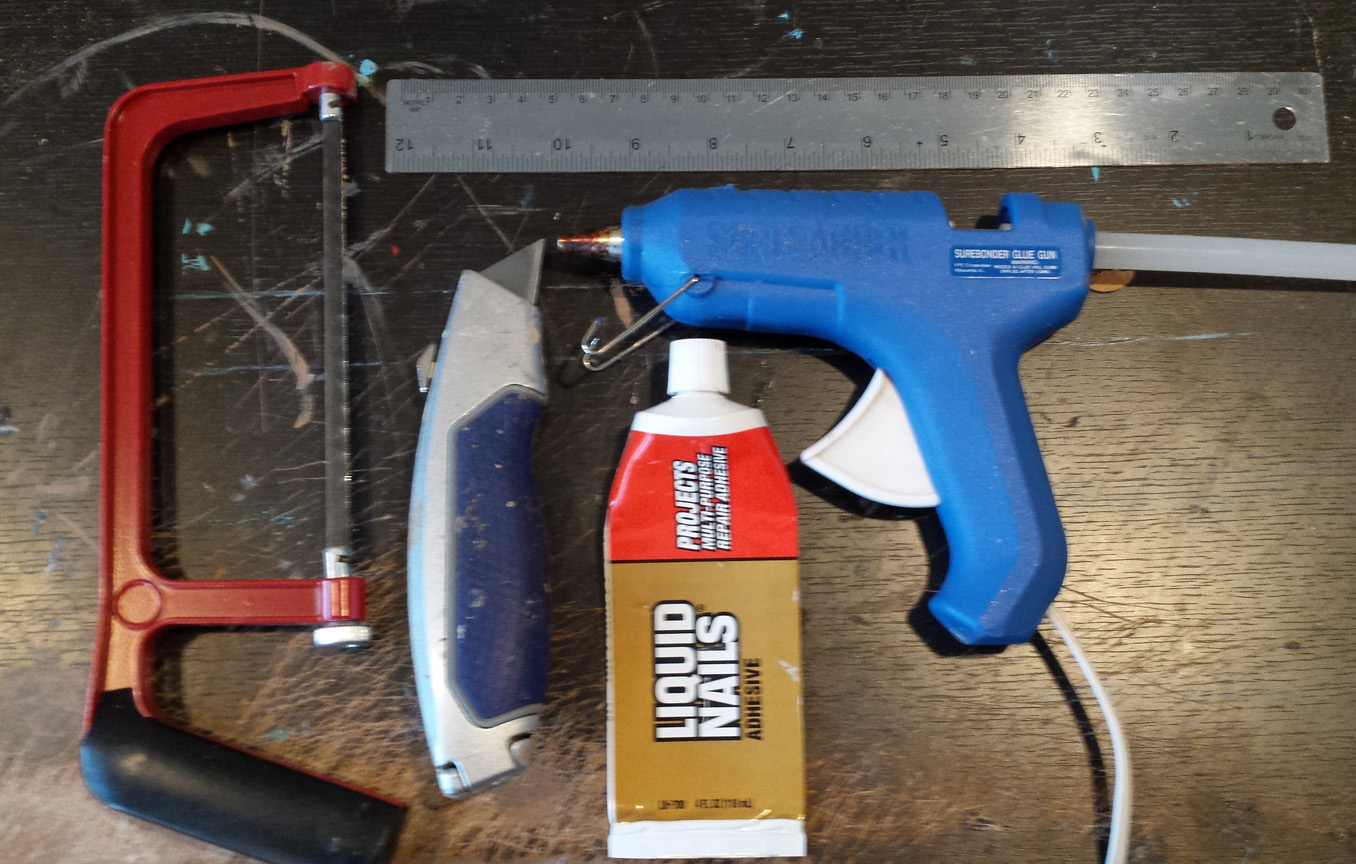
For starters here are a few basic items you will need: Cork tiles (for the backing of your trivets), some sort of adhesive, a utility knife (for trimming corks as they don’t always fit together perfectly), a saw or implement of your choice (for cutting the corks in half), and a ruler.
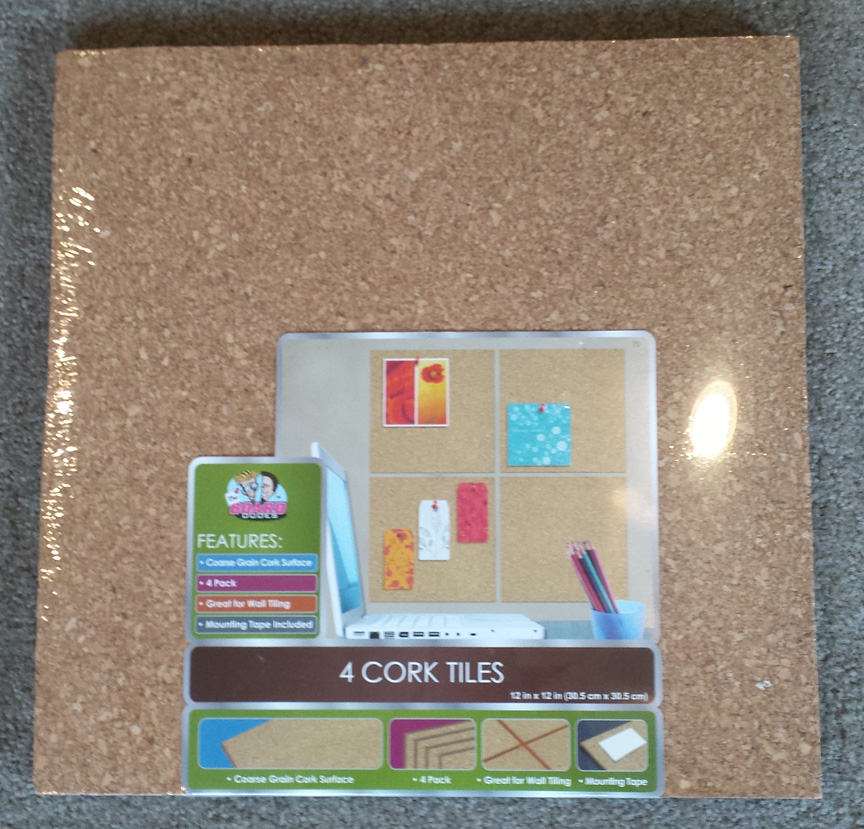
Now more about those corks tiles. They are typically available at any craft store, though I have find them at places like Target much cheaper (abut $7 for four 12″x12″ tiles). I use these to back my trivets rather than wood or other substances I have seen used because I like that it continues the cork theme and makes them look more natural. The cork is also soft and won’t scratch tables and other surfaces. I make several sizes of trivets depending on the pattern I create with my corks as some take up more space that others. For a standard square cork trivet I start with a base measuring 5 1/4″ square. I don’t think I need to tell you here to use the ruler and utility knife to achieve this. You should be able to get four out of one tile with a small strip left over.
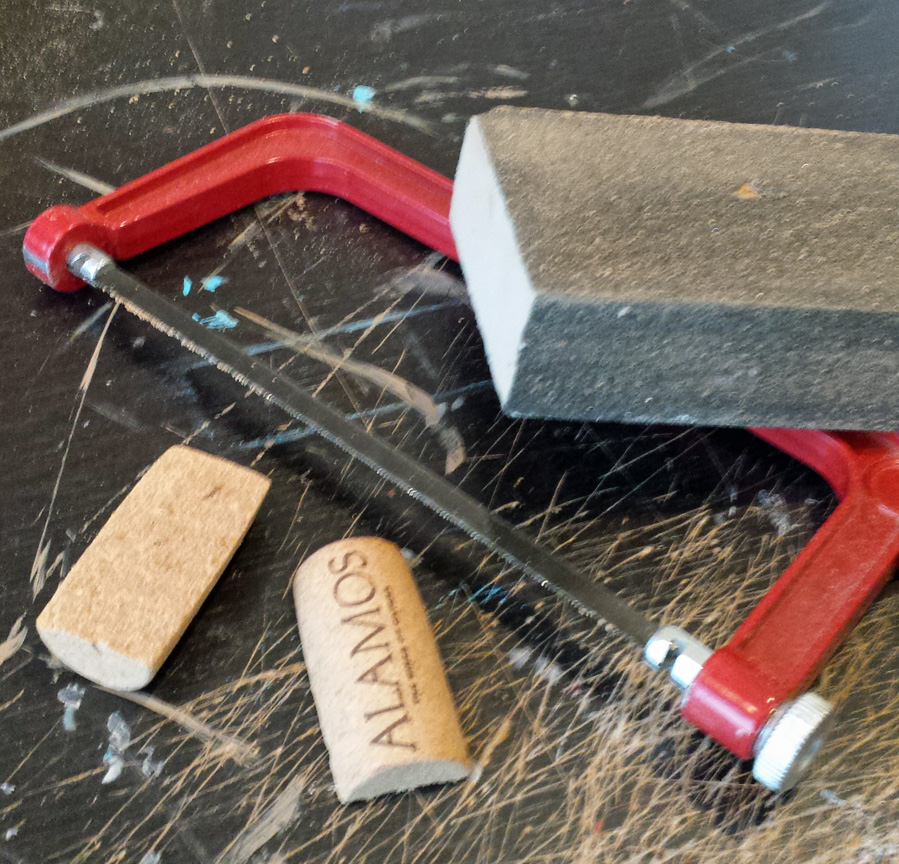
Now that you have your bases cut it’s time for the wine corks. I cut mine in half lengthwise so that one side is flat and can be easily adhered to the base, it also makes your corks go twice as far. I have seen people do this on Pinterest with the utility knife or even a sharp kitchen knife but I have always used a small hand saw. I find the handle gives me a bit more control, though slips do occasionally lead to bandaids so be careful at this step no matter what you use to cut. Once my corks are cut I tend to sand the edges to remove any rough spots and smooth out the bottoms before gluing. I will warn you this process is messy as it produces quite a bit of saw dust so make sure you do it in an area thats easy to clean up, or dedicated to being messy, like my craft area.
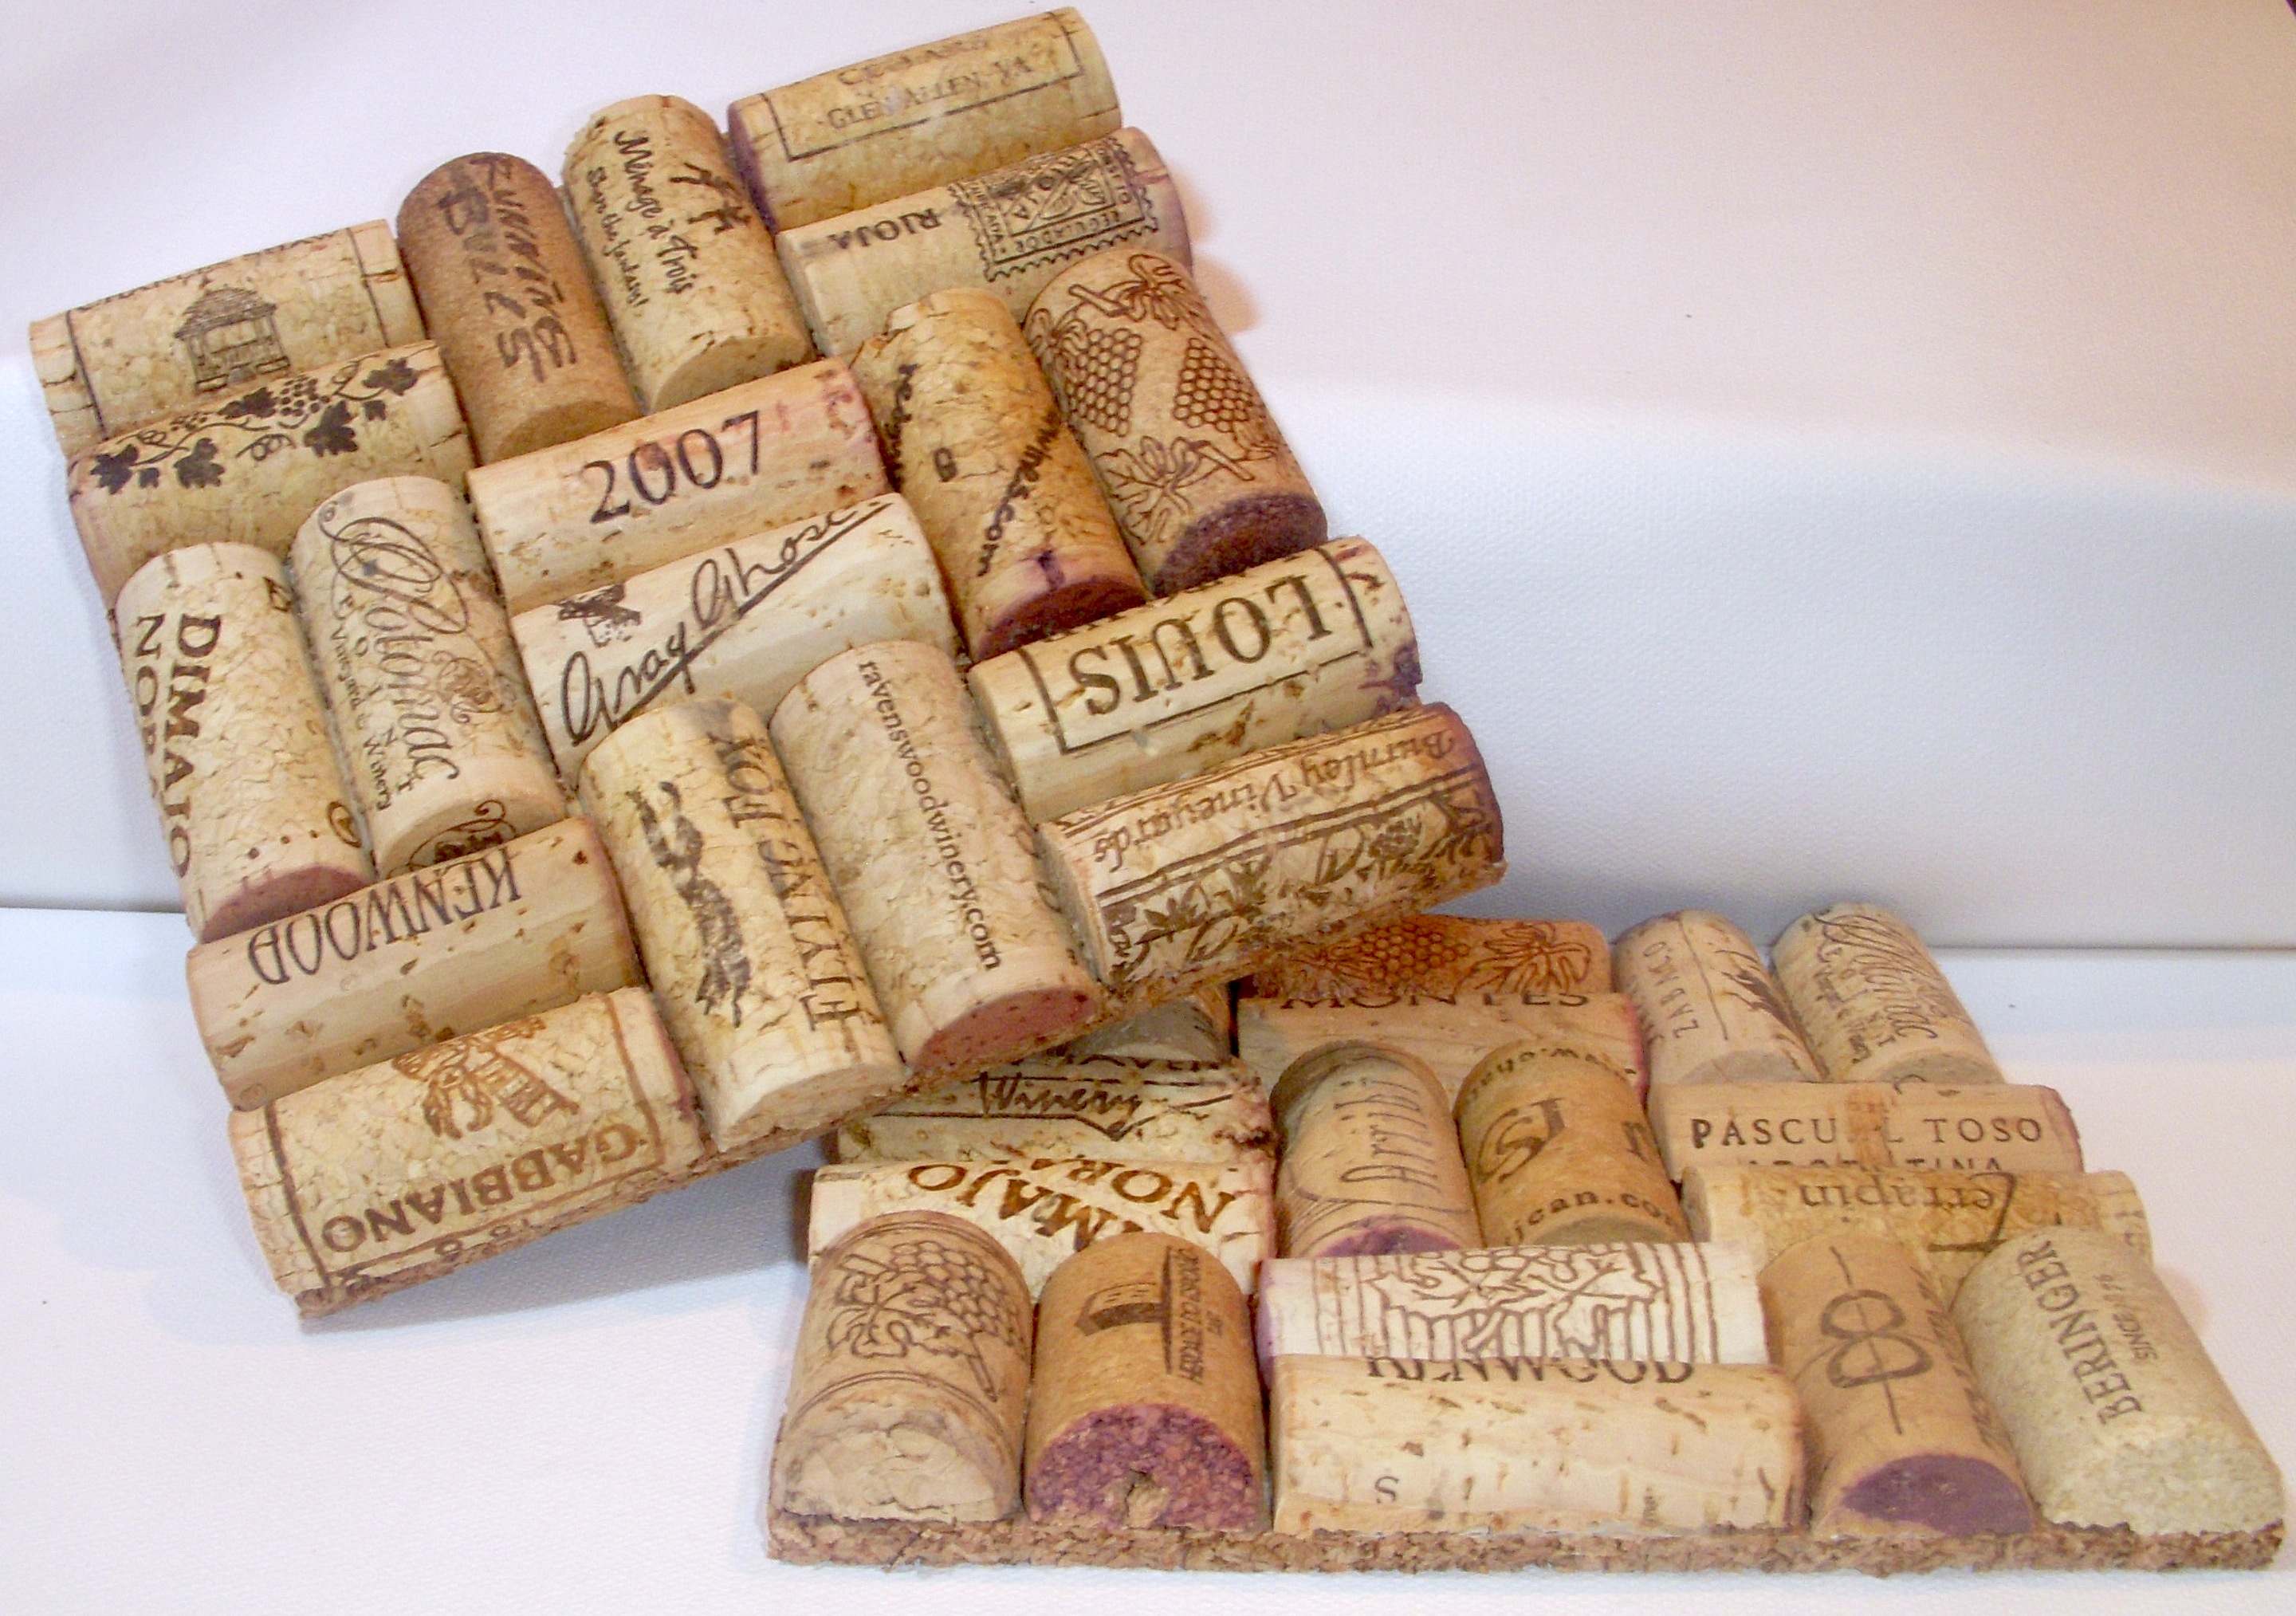
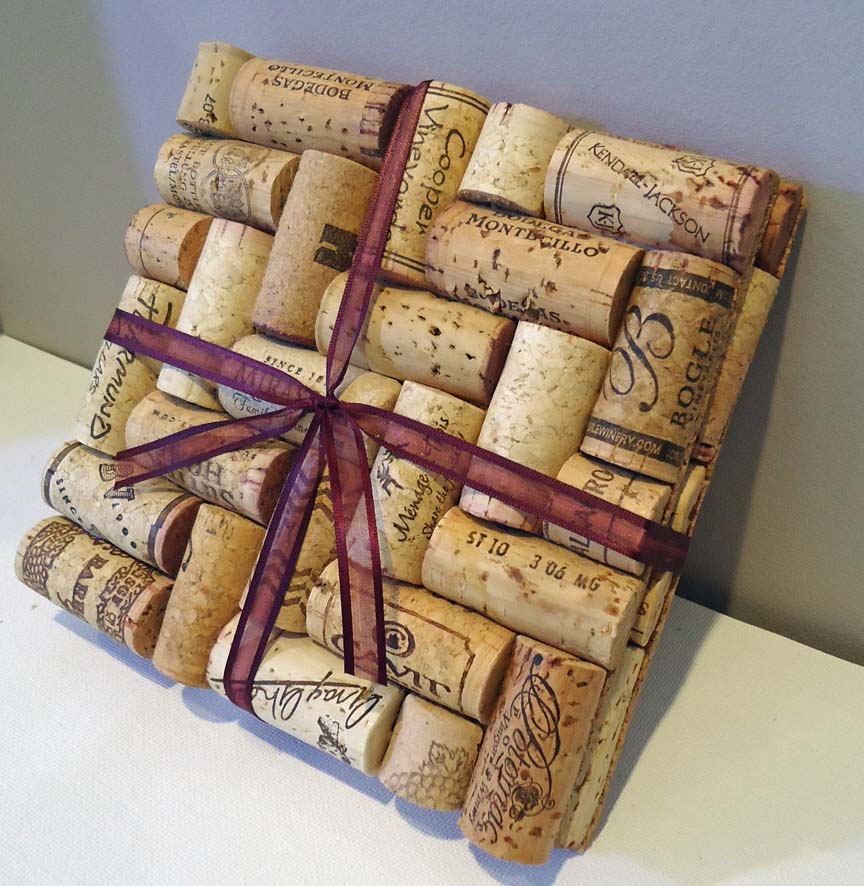
Once your corks are all cut I liken the next part of this process to putting together a puzzle, two corks horizontal, two vertical, and so on. The corks won’t always fit together perfectly so I like to lay them all out, tinker with them in different configurations and trim the ends with my utility knife for better fits etc. BEFORE I start gluing things down because depending on what glue you use, there may be no going back. If you’re looking for the quick and easy route hot glue should do the trick and if something pops off after lots of use you can always touch it up. But for the trivets I make in my shop I like to use liquid nails. The downside is there is about 12 hours of dry time. The upside is I know those corks are not going ANYWHERE once it dries and I can ship them out to customers confident they won’t have any issues down the road.
Once you have perfected these basic trivets and feel more comfortable there are lots of other things you can do. You can scale these down a bit to make smaller coasters or you can try other patterns. I also make what is best described as a Herringbone patterned trivet which is slight larger at 6″ square because the pattern takes up a bit more space. Putting together this puzzle tends to take a little more time and trimming, but the finished product looks great!
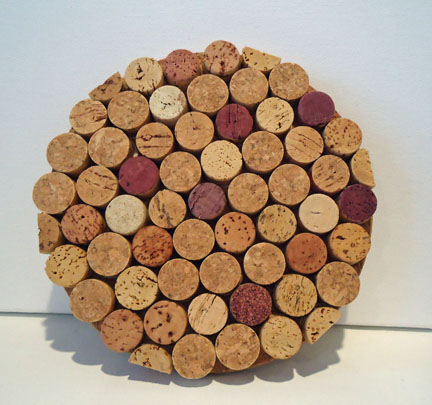
Don’t be afraid to experiment and have fun! I started with these basic trivets but branched out into all sorts of patterns and shapes. My new favorite is round coasters and trivets. Below is an example of a round trivet that also employs a new technique. When I get corks from friends and family who consistently only drink one or two wines I tends to get lots of the same corks over and over which makes coming up with a more random and diverse pattern like you see on the trivets above a bit difficult. To deal with that problem I like to slice the corks into “coins” using my utility knife and attach them to the base. This way you don’t really see the sides where all the logos are the same, you just see cork, and the wine stained ends which I think is a fun touch.
I hope I have inspired you to do something new and fun with your cork collection. However, if you are prone to Pinterest fails (you know what I’m talking about) and I’ve scared you away with sharp tools, piles of saw dust, and messy glue, you can leave the work up to me and come visit my shop!